September 30, 2026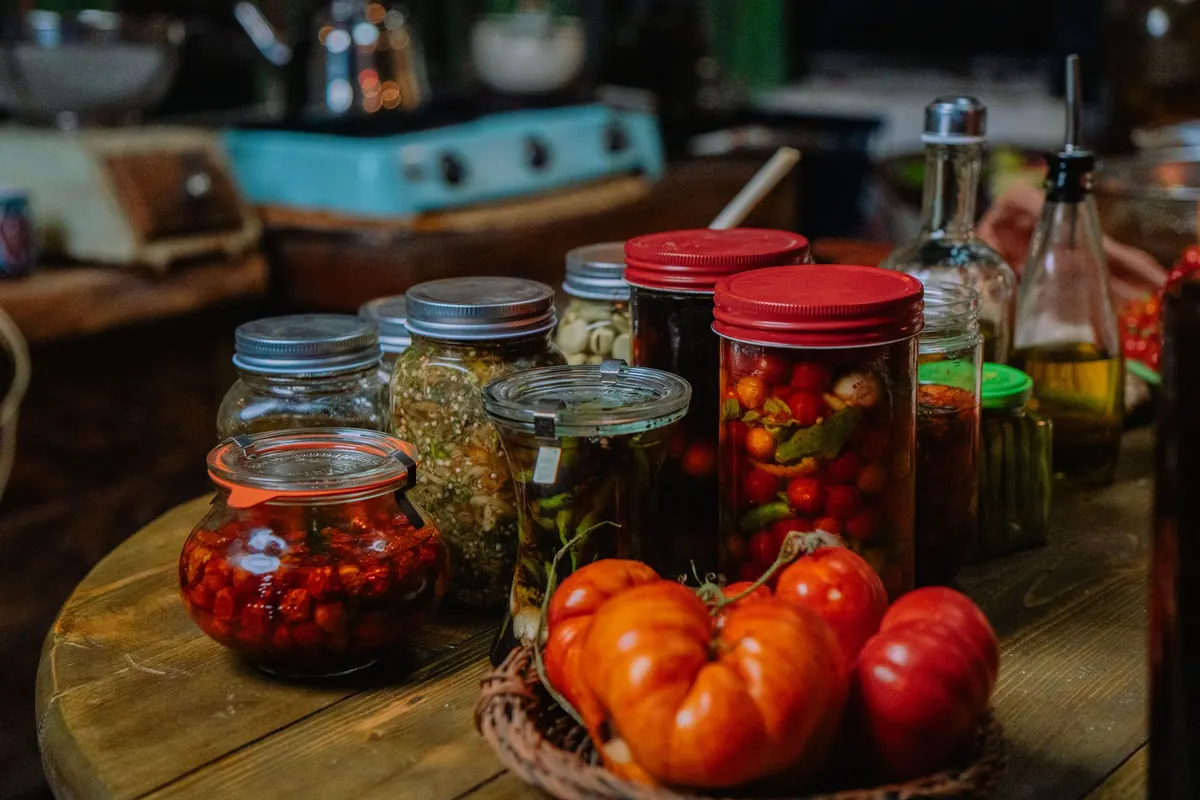
By the first week of September the kitchen counter has disappeared under a pile of tomatoes, the runner beans are producing faster than anyone can eat them, and there is a bunch of basil on the windowsill that needs dealing with today. This is the point where preserving stops being a charming idea and becomes a practical one. You do not need a cellar, a pressure canner and a shelf of old cookbooks to make a real dent in the harvest. Three methods — freezing, drying and canning — will handle almost everything a cottage garden grows.
Three Habits That Apply to Every Method
Whatever you are putting up, the same handful of habits separates the bags and jars you are proud of from the ones you quietly compost in February.
- Pick at its peak, not past it. A bean that is slightly overgrown will never freeze into a good one. Harvest in the morning once the dew has dried, and process the same day if you can.
- Work in small batches. Four pounds of beans is manageable. Forty pounds is a reason to order dinner in. Deal with the harvest in rounds instead.
- Clean and dry as you go. Rinse produce, drain it properly, and keep your hands, tools and work surface clean. Extra water is the enemy of drying and freezing alike.
- Label everything. Name and date, written on the bag or lid the moment you seal it. In a year you will not remember whether that was a mild chutney or a fiery one.
Freezing: The Easiest Place to Start
If you are new to all of this, start here. A freezer is forgiving, needs no special equipment, and does not care whether you have a spare hour or a spare ten minutes.
Vegetables need a quick blanch
Most vegetables freeze badly if you throw them in raw; they go limp and taste flat. The fix is blanching. Bring a large pot of water to a rolling boil, drop in a batch of prepared vegetables, and cook them briefly — a minute or two for beans and peas, a little longer for tougher roots. Then move them straight into a bowl of ice water to stop the cooking, drain well, pat dry, and spread them on a tray to freeze loose. Once solid, tip them into bags. Freezing on a tray first means you can pour out exactly what you need instead of wrestling with a frozen brick. Times vary by vegetable, so keep a reliable blanching chart to hand.
Herbs: two good options
Soft herbs such as basil, parsley, chives and dill lose their texture when frozen, so treat them as flavour rather than garnish. Chop them, pack them into ice cube trays, cover with water, olive oil or melted butter, and freeze. The cubes drop straight into a winter stew. Hard herbs — rosemary, thyme, oregano, sage — freeze well as whole leaves in bags and keep their punch. Basil is the one to watch: frozen plain, it turns black, so blitz it with oil first.
Drying: Slow, Quiet and Nearly Foolproof
Drying suits herbs, chillies, tomatoes and mushrooms — anything you would rather have hanging in the pantry than stacked in the freezer. It takes space and patience more than skill.
Air drying works well for woody herbs and chillies. Tie small bunches, hang them in a dark, dry, airy room — a spare bedroom or a shaded porch — and leave them alone. Herbs are ready when the leaves crumble between your fingers and the stems snap rather than bend. An oven on its lowest setting with the door propped open does the same job faster, and a dehydrator faster still; follow the temperatures in the machine's own guide rather than guessing.
The most common mistake is putting things away too soon. Any softness left in the middle will turn into mould in a jar. Dry longer than feels necessary, store in glass jars in a dark cupboard, and check them after a week. If condensation appears on the glass, everything goes back to the oven or dehydrator.
Canning: Rewarding, but Follow Tested Recipes
Jars of jam and pickles on a pantry shelf are the picture most people have in mind when they think about preserving, and with good reason. Canning is also the one method where improvisation can make someone ill, so it is worth learning properly.
The dividing line is acidity. High-acid foods — fruit, jams, jellies, chutneys, pickles, and tomatoes with added lemon juice or citric acid — can be processed in a boiling water bath. Low-acid foods such as beans, corn, carrots, soups and meat need a pressure canner to reach a temperature that boiling water cannot. Do not swap one for the other, and do not process jars in the oven or the dishwasher.
Use recipes that have been tested for safety — the USDA home canning guide and university extension services publish free, reliable ones — and follow the jar size and processing time exactly. Change the amount of vinegar or the size of the jar and you have changed the recipe. When in doubt, freeze it instead.
For a first attempt, pick one thing: a small batch of strawberry jam, a few jars of pickled beans, or crushed tomatoes with bottled lemon juice. Boil the jars, fill them properly, wipe the rims, and listen for the lids to ping as they cool. Anything that fails to seal goes in the fridge and gets eaten within a week or two.
A First-Season Plan That Won't Overwhelm You
- Freeze one thing this week — a bag of blanched beans or a tray of herb cubes.
- Hang one bunch of herbs to dry somewhere out of the way.
- Make one small batch of jam or pickles using a tested recipe.
- Write the date on everything, in one consistent spot.
- Note what worked in a notebook, and what you would skip next year.
That is a realistic first season. Next year you will know which tomato makes the best sauce and how many jars of chutney you actually eat, and you can scale up from there.
Eating the Garden in January
The reward arrives on a grey afternoon when there is nothing in the shops worth buying. You open the freezer and find last summer's beans, or twist the lid off a jar of tomatoes that tastes of warm afternoons. Check your stores once a month, move the oldest jars to the front, and cook from them rather than saving them for a special occasion. Preserving is only worth the effort if the results get eaten.
Photo: TIVASEE . / Pexels