October 02, 2026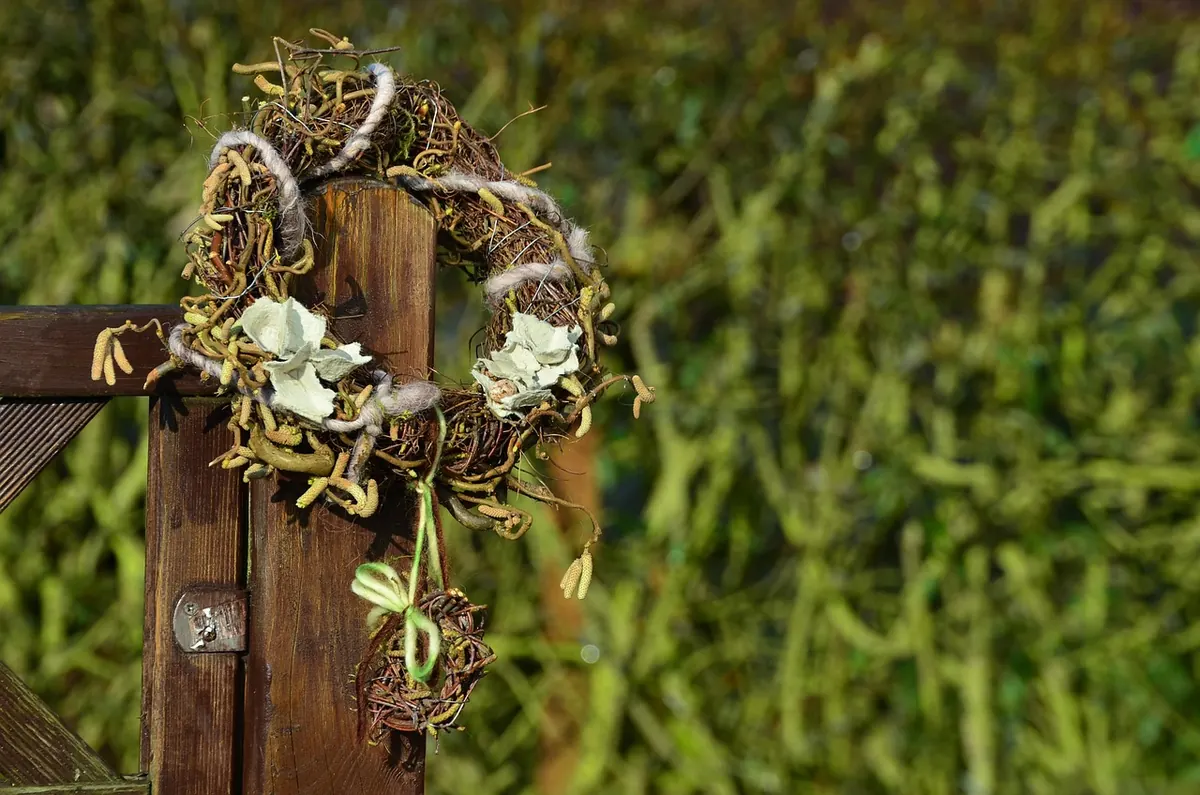
A twig wreath is one of the rare homemade things that gets better with age. The first one you make will be lumpy and slightly lopsided. The fifth will look like it came from a shop in town, except it will cost you an afternoon and a walk down the lane. Because the base is bare wood rather than foam or straw, you can dress it four times a year instead of once: pussy willow in March, lavender in July, seed heads in October, holly in December.
Here is how to build one that lasts long enough to earn its keep.
Start with the Right Twigs
The wreath is only as good as what you feed it. You want long, flexible lengths about the thickness of a pencil, still green enough to bend without cracking. Anything that snaps in your hands will snap again inside the wreath.
- Grapevine — the classic; old vines are wiry and dark, and they hold a circle beautifully.
- Willow and dogwood — cut in winter, they bend like rope and keep their colour.
- Birch — slim and pale, lovely for a light, airy wreath, though brittle once dry.
- Hazel, apple and pear prunings — whatever the garden gives you in late winter.
- Honeysuckle vine — twisty and forgiving, though it needs a firm hand.
Gather more than you think you need. A wreath 30 cm across swallows a surprising amount of material, and two carrier bags of twigs is a reasonable start for a first attempt.
Late winter and early spring are the best windows for gathering, because that is when hedges and fruit trees are pruned anyway and the sap is just beginning to move. Ask before you cut. In most places you cannot legally take plant material from public land or someone else's property without permission, and a five-minute conversation with a neighbour often ends with a wheelbarrow of prunings.
Building the Base, Step by Step
- Soak if needed. Twigs that have sat in a shed will crack, so leave them in a bath or bin of water overnight. Soaked willow and grapevine bend like new.
- Sort into bundles. Group eight to twelve similar twigs, thinner ones toward the inside, thicker ones on the outside.
- Make the first ring. Bend a bundle into a circle and overlap the ends by about 15 cm. Wire or tie that overlap firmly.
- Add a second bundle. Lay it alongside the first, offsetting the overlap so the joints never line up. Wire as you go; do not save the wiring for the end.
- Keep going until the ring is firm and roughly 5 cm thick. Thinner looks mean, thicker gets heavy.
- Wrap the whole ring with twine or fine wire, taking a half hitch every few inches. That wrapping is what holds everything together when the wood shrinks.
- Hang it up and look at it while it is still damp, and correct the circle now. Once it dries, you are stuck with the shape you have.
Wear gloves for the wrapping stage, especially with anything thorny or sappy, and work on a table you do not mind scratching. A pot of soaked twigs and a reel of wire within reach will halve the time it takes.
Details That Decide Whether It Lasts
Size and shape
A door wreath wants to finish around 30 to 40 cm across. Wall and window wreaths look better at 20 to 25 cm, and tabletop rings at about 15. Make your first one larger than feels necessary, because small wreaths are fiddlier to hold and wire.
Slow drying
Let the base dry for a week or two in a cool, airy spot away from radiators, wood stoves and sunny windowsills. Heat dries the outside faster than the inside, which is how you get splits and warped circles. A properly dried wreath feels light and sounds hollow when you tap it, and it will hold its shape for years.
Hidden wire
For anything bigger than a small door wreath, thread a stiff wire ring through the middle of the bundle before you wrap. It takes a few minutes and stops the circle from sagging slowly into an oval.
Dressing It for the Season
Spring
Restraint suits spring. Push three or four short stems of pussy willow or twisted hazel into the twigs at uneven intervals, add a little forced forsythia or flowering quince, and tuck in moss to cover the mechanics. A single narcissus in a small water tube will last a week by the door. Pale ribbon, loosely tied, finishes it.
Summer
This is the season for herbs. Bunches of lavender, rosemary, oregano flowers, yarrow and santolina, wired at the stem and tucked between the twigs, will dry in place and keep their scent for months. Fresh garden flowers will not last long without water, so either wire them in early and accept a few days of colour, or stick to things that dry well.
Fall
Seed heads are the whole show: allium, nigella, teasel, rosehips, hydrangea, dried grasses and a few oak leaves. Wire each piece individually and place them in odd numbers, leaving gaps so the twig base still reads as structure. Warm browns, deep reds and one unexpected dark purple always work.
Winter
Evergreen sprigs, holly, birch slices, dried orange, pinecones and cinnamon sticks. Real berries look wonderful but they stain, so line the door or wall behind them, and expect birds to strip them if the wreath hangs outside. Keep fresh greenery well away from candles and open fires, and use battery lights rather than anything with a flame. If you hang a wreath above a fireplace, it dries out fast and becomes a fire risk; move it somewhere cooler.
Hanging, Storing and Swapping
Hang the wreath by the twig ring, not by the decorations. A ribbon or length of jute looped through the base will hold. A wire hooked through a single sprig will not. A decorated twig wreath is heavier than it looks, so use a hook rated for the weight rather than a small adhesive strip, and check it once a month.
At the end of each season, pull out anything perishable and store the bare base flat in a box, or hang it on a nail in a dry shed.
Photo: congerdesign / Pixabay